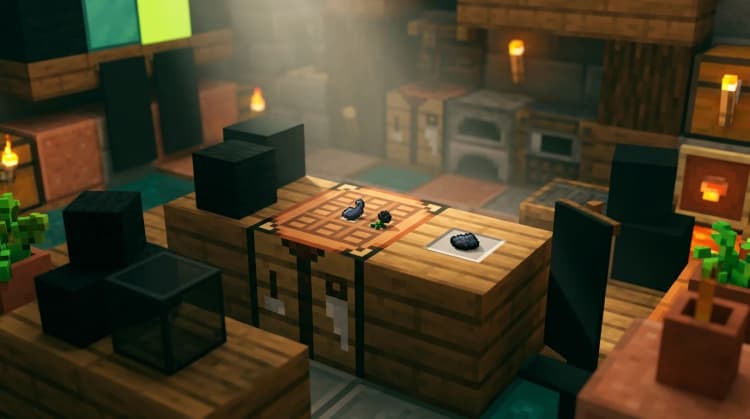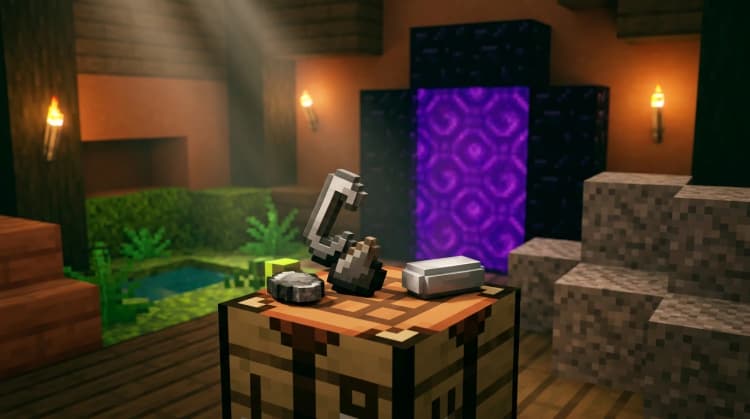
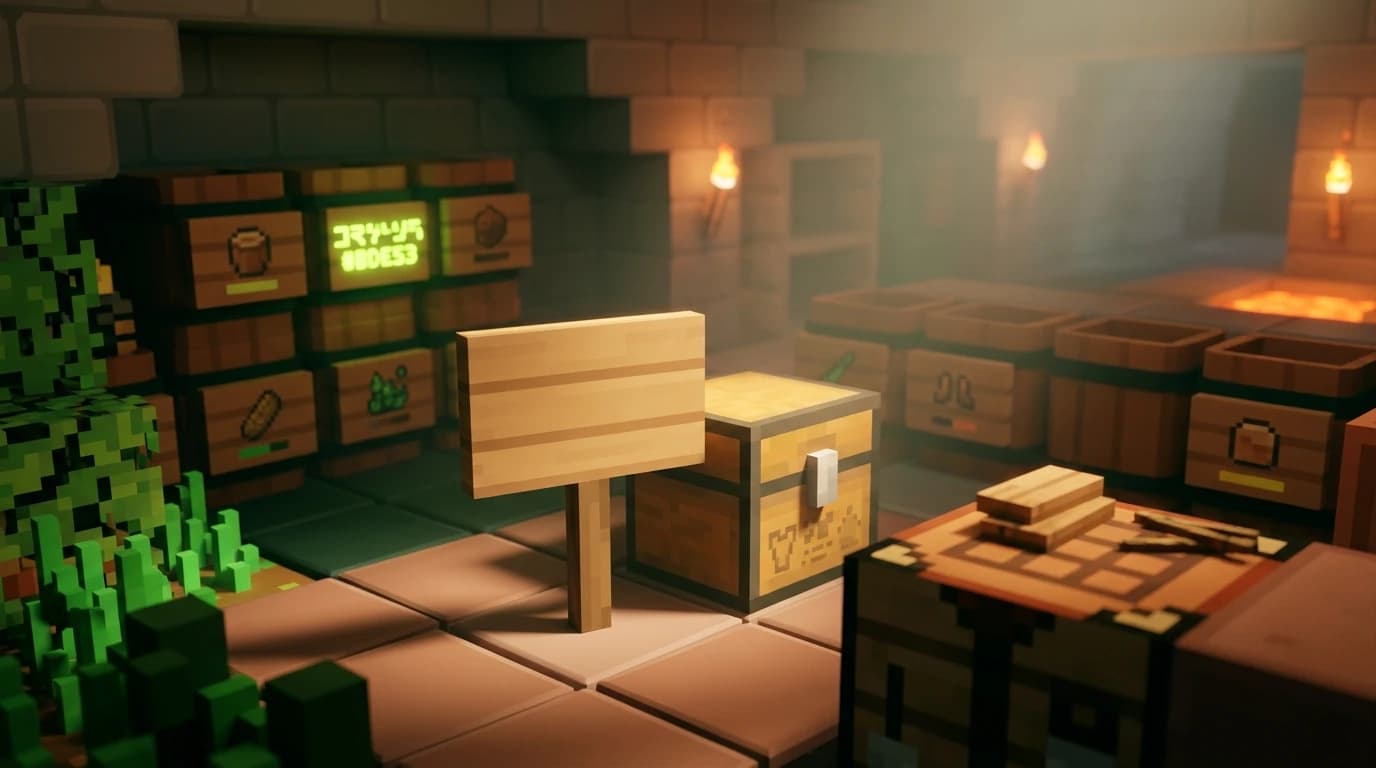
To answer how do i make a sign in minecraft, place six matching wooden planks in the top two rows of a crafting table and one stick in the center slot of the bottom row. The recipe gives you three signs. Place one on a block, enter up to four lines of text, and select Done.
How do i make a sign in minecraft
You need only wooden planks and a stick. Any regular wood type works, including oak, spruce, birch, jungle, acacia, dark oak, mangrove, cherry, bamboo, crimson, and warped wood. The planks determine the sign’s appearance, but every standard sign uses the same recipe.
| Ingredient | Quantity | Where it goes |
|---|---|---|
| Matching wooden planks | 6 | All three slots in the top row and all three slots in the middle row |
| Stick | 1 | The center slot of the bottom row |
| Output | 3 signs | Crafting output slot |
The crafting-grid layout is simple: fill the entire top row with planks, fill the entire middle row with planks, then put one stick in the bottom-center slot. The planks must match each other, so do not combine oak and spruce planks in the same recipe.
Gather the materials
- Break a tree log or another wood source.
- Open your inventory crafting grid or use a crafting table.
- Turn one log into four matching planks.
- Use two planks vertically in the crafting grid to make four sticks.
- Keep six planks and one stick for the sign recipe.
A crafting table is not required because the recipe fits in the 2×2 inventory grid only if the layout can be placed correctly. Since the sign recipe fills three columns across two rows, using a crafting table is the reliable option and also lets you craft several batches quickly.
How to craft and edit a sign
After placing the ingredients in the correct pattern, move the three signs from the output slot into your inventory. Select a sign in your hotbar, aim at the surface where you want it, and use the place control.
- Hold the sign in your hand.
- Aim at the top or side of a suitable block.
- Use the place button to attach the sign.
- Type your message into the sign editor.
- Move between the four lines as needed.
- Choose Done, or close the editing screen using your platform’s confirmation control.
A regular sign can stand on top of a block or attach to the side of one. A standing sign faces the direction determined by your placement position, while a wall sign attaches to the side you target. You can leave lines empty if you do not need all four rows.
Modern Minecraft signs have separate front and back faces. The first editing screen writes on the front. To add a different message to the back, walk around the sign and interact with its opposite face. This is useful for two-sided directions, storage labels, and shop instructions.
How to place a sign on a chest
Chests, barrels, furnaces, and other interactive blocks normally respond to the use button by opening their interface. To place a sign on one of these blocks instead, sneak while placing it.
- Hold the sign in your hotbar.
- Stand close to the chest and aim at the top or side where the sign should go.
- Hold the sneak button.
- Press the place button while still sneaking.
- Enter the label, such as “Stone,” “Tools,” or “Food,” and confirm it.
On PC, sneak is usually Left Shift. On consoles and other devices, use the crouch or sneak control shown in your control settings. If the chest opens instead of placing the sign, keep sneaking before pressing the place button.
You can also put a sign beside a chest if you want to open the container normally without sneaking. For compact storage rooms, labels on the front, top, or neighboring blocks make it easier to sort items without opening every container.
How to color a sign in Minecraft
After you place and write on a sign, use any standard dye on it to change the text color. Hold the dye, aim at the sign’s text, and press the use button. The dye changes the sign’s text rather than changing the wood itself.
- Use red dye for red text.
- Use blue dye for blue text.
- Use white dye for bright white text.
- Use yellow, green, purple, cyan, orange, pink, gray, brown, or another available dye for the matching color.
The dye applies to the text on the face you target. Because the front and back of a sign can have separate text and color settings, you can use different colors on each side. If you edit the sign later, its dye color remains in place.
Coloring a sign is different from changing the sign’s wood type. A spruce sign remains a spruce sign after you use blue dye on it; only the text color changes.
How to make sign text glow
For brighter text in dark areas, use a glow ink sac on the sign. Glow ink sacs come from glow squids. Hold one and use it on the written sign to add a glowing outline and improve readability in darkness.
- Find and defeat a glow squid to obtain a glow ink sac.
- Place and write on your sign.
- Hold the glow ink sac.
- Use it on the sign’s text.
The glowing effect makes the letters easier to see, but it does not turn the sign into a light source. The sign will not illuminate nearby blocks like a torch or lantern. For the strongest contrast, apply a dye first and then use the glow ink sac.
To remove the glowing effect, use a regular ink sac on the sign. The normal ink sac returns the text to its standard non-glowing appearance. A sign can also be waxed with honeycomb after you finish editing it; waxing prevents further text changes and helps protect a finished label from accidental edits.
Regular signs, hanging signs, and wood types
The recipe above makes regular signs, which stand on the ground or attach to a wall. Minecraft also has hanging signs, but they use a different recipe and behave differently when placed.
- Regular sign: six matching planks and one stick, producing three signs.
- Hanging sign: six stripped logs or stripped stems and two chains, producing six hanging signs.
- Regular sign placement: sits on top of a block or attaches to a block’s side.
- Hanging sign placement: hangs beneath supporting blocks, fences, and similar structures.
Use a regular sign for chest labels, floor markers, wall directions, and simple paths. Use a hanging sign when you want a shop label, tavern sign, street marker, or decoration suspended from a ceiling or support.
Java Edition and Bedrock Edition differences
The basic sign recipe and normal placement process work the same way in Java Edition and Bedrock Edition. Both versions use six matching planks and one stick to produce three signs, and both allow you to write on a sign after placing it.
The main differences you notice are the exact button prompts and some text-formatting behavior. Controls depend on whether you play with a keyboard, controller, or touch input. On both editions, sneaking is the important step when you want to place a sign on a chest instead of opening the chest.
Both editions also support dyed sign text and glow ink sacs in current versions. If a sign does not respond, check that you are using the dye or glow ink sac directly on the placed sign, rather than trying to put either item into a crafting grid with it.
Common sign mistakes and faster fixes
- The recipe does not work: check that all six planks are the same wood type and that the stick is in the bottom-center slot.
- You get a chest interface: sneak before placing the sign.
- The text editor does not appear: make sure you placed the sign successfully and are interacting with its face.
- The color does not change: hold the dye and use it directly on the written sign.
- The text is not bright at night: use a glow ink sac after writing the sign.
- You cannot edit the sign: it may have been waxed with honeycomb.
For large builds, craft several batches at once because one recipe produces three signs. Keep spare sticks and planks nearby, then add labels as you finish each storage room, farm, mine entrance, or pathway.